

You’ve built a smart home solution that controls your lights, locks, thermostat, and cameras from a single dashboard. Great — but what happens when you’re not home? Maybe you’re at work and want to check if you left the garage door open, or you’re on a trip and want to adjust the thermostat before you walk in. Remote access turns your local automation setup into a smart home solution you can actually rely on from anywhere in the country.
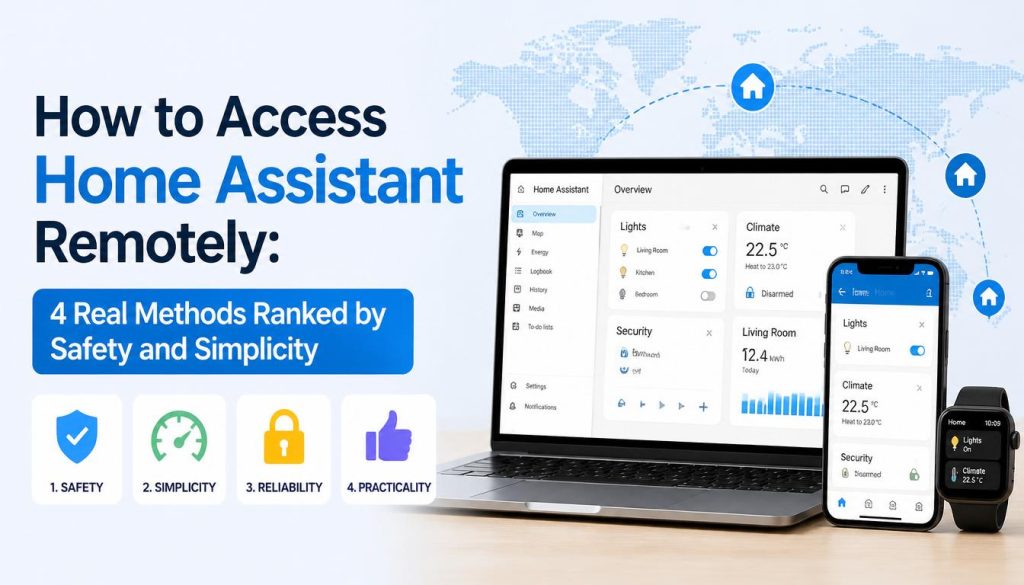
The problem is that Home Assistant doesn’t expose itself to the internet by default, and that’s intentional — it’s a safety feature, not a limitation. Opening your home network to the outside world the wrong way can turn a convenient smart home solution into a security liability. So let’s go through the real, tested methods for remote access, ranked honestly by how safe, simple, and practical each one actually is for a US household.
Why Remote Access Isn’t as Simple as “Just Turn It On”
Home Assistant runs on your local network, which means by default it’s only reachable from devices connected to your home Wi-Fi. That’s actually a good thing — it keeps your smart home solution isolated from random internet traffic. The moment you want remote access, you’re essentially asking your home network to accept a connection from outside, and that requires either encryption, authentication, or both, done correctly.
A lot of DIY tutorials skip the security reasoning and just tell you to open a port. That approach works, technically, but it’s the riskiest option on this list, and we’ll explain exactly why further down.
Method 1: Home Assistant Cloud (Nabu Casa)
This is the official, sanctioned way to access your smart home solution remotely, and for most US users, it’s the best starting point.
Home Assistant Cloud is a paid subscription service run by Nabu Casa, the company behind Home Assistant itself. It creates a secure tunnel between your local instance and their cloud servers, so you get a private, encrypted URL you can access from anywhere without touching your router settings at all.
What makes it stand out:
- No port forwarding, no router configuration
- Automatic SSL/TLS encryption handled for you
- Built-in support for Google Assistant and Amazon Alexa integration
- Revenue from subscriptions funds Home Assistant’s open-source development
- Setup takes about five minutes
The tradeoff: It’s a monthly or yearly subscription. For people who want a “no technical steps, just works” experience, that cost buys peace of mind and directly supports the software your entire smart home solution depends on.
Method 2: A Personal VPN (WireGuard or Tailscale)
If you’d rather not pay a subscription and you’re comfortable with a bit more setup, running your own VPN is the next best option from a security standpoint.
A VPN essentially makes your phone or laptop behave as if it’s physically connected to your home network, even when you’re miles away. Once connected, you access Home Assistant exactly like you would from your living room couch — no ports exposed to the public internet, no separate login system to manage.
Two popular routes:
- Tailscale — extremely beginner-friendly, uses a mesh VPN model, and can be set up in under fifteen minutes even for non-technical users.
- WireGuard — faster and more configurable, but requires manual setup on your router or a dedicated device, which is better suited to users who already have some networking experience.
Why this method is underrated: It gives you the security of a closed network with the flexibility of a free, self-hosted option. The only real downside is that if your VPN app isn’t running on your phone, you temporarily lose remote access until you reconnect it — a minor inconvenience compared to the security benefits.
Method 3: Reverse Proxy With a Custom Domain
This method is popular among users who want a permanent web address (like yourname.duckdns.org) pointing directly to their smart home solution, without relying on a third-party cloud tunnel.
Here’s how it generally works: you register a free dynamic DNS domain (DuckDNS is the most common choice in the Home Assistant community), install a reverse proxy add-on, and generate a free SSL certificate through Let’s Encrypt. This gives your Home Assistant instance a proper encrypted web address that updates automatically even if your home IP address changes.
Why people choose this route:
- Free domain and free SSL certificate
- Works well with voice assistants and external integrations that require a public HTTPS endpoint
- No recurring subscription cost
Why it requires more care: You are opening a port on your router, which means your Home Assistant login becomes your only line of defense. This makes strong, unique passwords and two-factor authentication absolutely non-negotiable if you go this route. It’s a solid method, but only for users willing to actively maintain their own security.
Method 4: Direct Port Forwarding (Use With Caution)
This is the most basic method — forwarding a port directly from your router to your Home Assistant device — and it’s the one most tutorials mention first because it’s technically the easiest to describe. It’s also the one we’d critically caution most US homeowners against using on its own.
Without an added layer like a reverse proxy, SSL encryption, or a VPN, direct port forwarding exposes your login page straight to the open internet. Automated bots constantly scan for exactly this kind of exposed access point, and a weak or reused password can turn your smart home solution into an entry point for your entire home network.
If you still choose this method, at minimum:
- Enable two-factor authentication inside Home Assistant
- Use a long, unique password never used on any other account
- Keep Home Assistant OS updated at all times
- Consider adding fail2ban or a similar intrusion-prevention tool
Realistically, most users are better served by pairing port forwarding with a reverse proxy and SSL (Method 3) rather than leaving it exposed on its own.
Comparing the Four Methods
| Method | Setup Difficulty | Cost | Security Level |
|---|---|---|---|
| Home Assistant Cloud (Nabu Casa) | Very easy | Subscription | High |
| Personal VPN (Tailscale/WireGuard) | Moderate | Free | High |
| Reverse Proxy + Custom Domain | Moderate to advanced | Free | Medium-High (with care) |
| Direct Port Forwarding | Easy | Free | Low (without extra steps) |
Which Method Actually Fits Your Household?
If you want the least technical hassle and don’t mind a small recurring cost, Home Assistant Cloud is the most dependable choice for a stress-free smart home solution. If you’re comfortable installing an app and want a free, highly secure option, a personal VPN like Tailscale is arguably the best value on this entire list. If you enjoy full control and want a permanent custom domain, a reverse proxy setup rewards the extra effort with flexibility. And if you’re only testing things temporarily, direct port forwarding might work — but it shouldn’t be treated as a long-term solution for a home you actually live in.
There’s no universally “correct” answer here, only the method that matches your technical comfort, your budget, and how seriously you take the security of a system connected to your locks, cameras, and personal routines.
Frequently Asked Questions
Is it safe to access Home Assistant remotely at all? Yes, as long as you use an encrypted method like Nabu Casa Cloud, a VPN, or a properly configured reverse proxy with SSL. Raw port forwarding without protection is the least safe approach.
Do I need a static IP address for remote access? No. Dynamic DNS services like DuckDNS solve this by automatically updating your address whenever your home IP changes, so a static IP isn’t required for any of the methods above.
Which method is best for voice assistant integration? Home Assistant Cloud is the simplest path for connecting Google Assistant or Amazon Alexa, since it’s built with that integration in mind out of the box.
Can I combine more than one method? Yes, and many experienced users do — for example, using a VPN for daily personal access while keeping a reverse proxy available specifically for voice assistant integrations.