
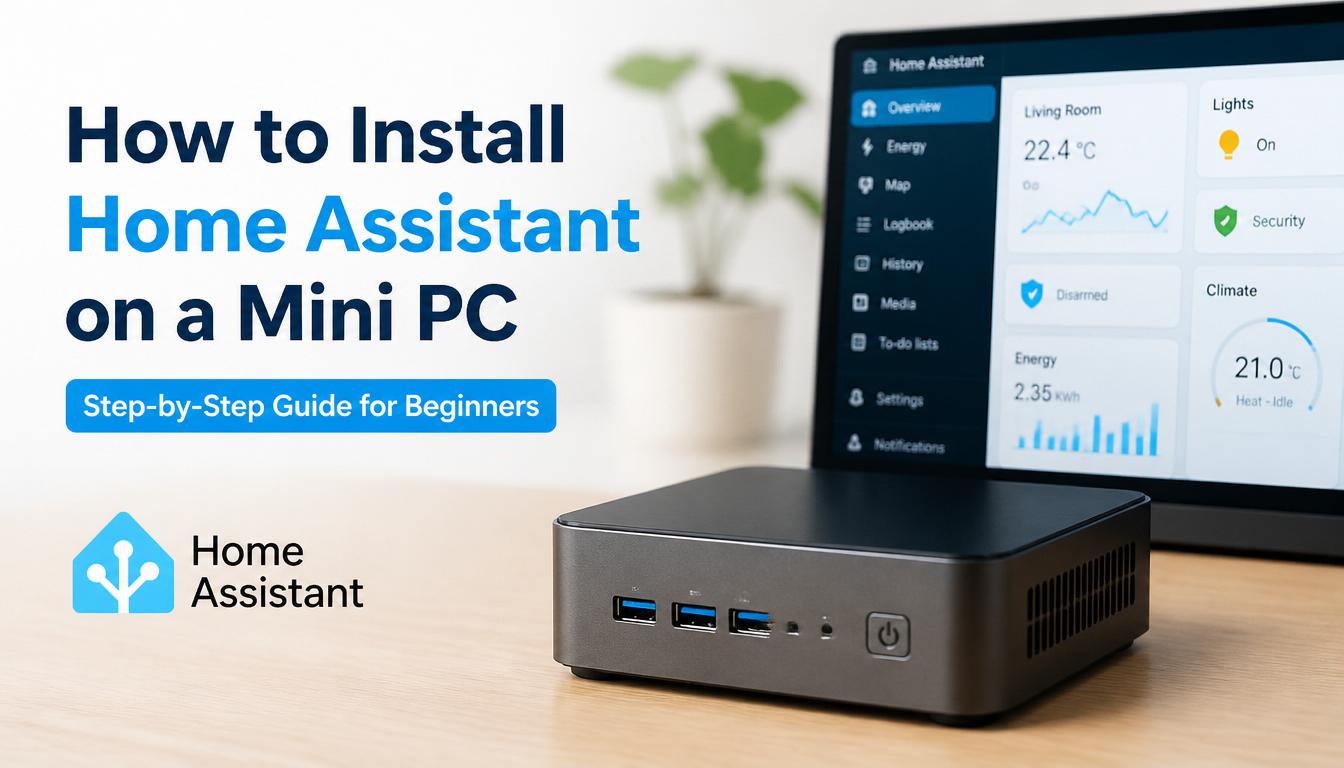
Every homeowner eventually reaches the same crossroads. You have added a handful of smart bulbs, a video doorbell, maybe a robot vacuum, and suddenly your phone is full of five different apps that refuse to talk to each other. This is the exact moment when most people start searching for a real smart home solution — something that unifies every device under one roof, works fast, and does not depend on a company’s cloud servers staying online forever.
A mini PC running Home Assistant is, for thousands of households across the United States, the answer to that search. It is quiet, it sips very little electricity, it can sit behind a TV stand without anyone noticing, and it gives you complete control over your own smart home solution instead of renting one from a big tech company. In this guide, we will walk through exactly why a mini PC is such a strong choice, what to buy, and how to get Home Assistant running from the very first boot to your first working automation.
Why a Mini PC Beats a Raspberry Pi for a Serious Smart Home Solution
Raspberry Pi boards get a lot of attention in smart home circles, and for good reason — they are cheap and widely documented. But once a household grows past ten or fifteen connected devices, the limitations start to show. microSD cards wear out. Processing power gets tight when you add camera integrations, voice assistants, or energy monitoring dashboards. A mini PC solves all three problems at once.
A modest mini PC, often available secondhand or refurbished for a reasonable price, typically includes a multi-core processor, several gigabytes of RAM, and — most importantly — a solid-state drive instead of a memory card. Solid-state storage is dramatically more reliable for the kind of constant read-and-write activity that a home automation platform generates every second of every day. If you are building a smart home solution meant to last five or ten years, storage reliability is not optional; it is the foundation everything else sits on.
Mini PCs also tend to include extra USB ports and sometimes even PCIe expansion slots, which makes it simple to attach a Zigbee or Z-Wave radio stick, a coral accelerator for camera detection, or additional storage down the road. In short, a mini PC gives your smart home solution room to grow instead of forcing you to repurchase hardware the moment you outgrow it.
Choosing the Right Mini PC
Before installing anything, it helps to know what specifications actually matter. You do not need a gaming rig to run a home automation hub — you need consistency and low power draw.
Processor: Look for a modern low-power chip from the Intel N-series, an AMD Ryzen embedded processor, or a comparable ARM-based board. Anything released in the past few years will comfortably run the core platform along with several add-ons.
Memory: Four gigabytes of RAM is a workable minimum, but eight gigabytes gives noticeably more breathing room once you start adding voice control, camera streams, or a database viewer.
Storage: A solid-state drive of at least sixty-four gigabytes is recommended. This leaves enough space for logs, backups, and the historical data your automations rely on.
Networking: A wired Ethernet port is strongly preferred over Wi-Fi for the main hub. Automation reliability depends on a stable connection, and a physical cable removes an entire category of intermittent problems.
Power consumption: One of the biggest advantages of the mini PC form factor is that most models draw a small, steady amount of power — often comparable to a couple of LED light bulbs running continuously. This keeps your smart home solution affordable to run around the clock without noticeably affecting your electricity bill.
Preparing Your Installation Media
Once your mini PC has arrived, the next step is preparing the software that will turn it into a home automation server.
- On a separate laptop or desktop computer, download a flashing utility designed for writing operating system images to drives.
- Download the official Home Assistant Operating System image built for generic x86-64 computers.
- Connect the mini PC’s internal drive to your computer using a USB adapter, or insert a USB flash drive if you plan to boot from external media first.
- Use the flashing utility to write the downloaded image onto the drive. This process typically takes several minutes and will erase any existing data on that drive, so double-check you have selected the correct device before continuing.
- Once flashing completes, safely eject the drive and reinstall it inside the mini PC.
Taking your time during this stage prevents the vast majority of installation headaches. A rushed or interrupted flash is the most common reason a first boot fails.
Powering On and First Boot
Connect the mini PC to your router using an Ethernet cable, plug in a monitor temporarily if you want to watch the boot process, and power the unit on. The first boot takes noticeably longer than every boot after it, because the system is expanding its file system and preparing background services. Expect anywhere from five to twenty minutes depending on your hardware.
You do not need a keyboard, mouse, or monitor connected for daily use afterward — everything is managed through a web browser on any other device on your network. Once the initial boot finishes, open a browser on your phone, tablet, or laptop and navigate to the onboarding address printed in the official setup documentation. If the address does not load immediately, wait another minute or two, since the system may still be finishing background setup tasks.
Completing Onboarding
The onboarding wizard is refreshingly simple compared to most enterprise-style software installations. You will be asked to:
- Create an administrator account with a strong, unique password
- Confirm your home’s location, which allows sunrise, sunset, and weather-based automations to function correctly
- Choose whether to share anonymous diagnostic data, which is entirely optional
- Allow the system to automatically scan your local network for compatible devices
This last step is where the platform starts to feel genuinely powerful. Within seconds, it will often detect smart TVs, printers, streaming devices, and any existing smart plugs or bulbs already connected to your Wi-Fi network, presenting them as ready-to-add integrations.
Building Your First Real Smart Home Solution
With onboarding complete, the real work — and the real fun — begins. Here is a practical order of operations that keeps frustration to a minimum for newcomers.
Step one: Add your core integrations. Start with whatever brand of lighting, plugs, or thermostats you already own. Each integration usually takes less than a minute to configure and immediately populates your dashboard with live, controllable entities.
Step two: Organize by area, not by device type. Rather than lumping every light together, assign each device to the physical room it lives in. This single habit makes voice commands, automations, and dashboards dramatically easier to manage later.
Step three: Create one simple automation before anything complex. A classic first automation is turning on the porch light at sunset and off at a set time. This teaches the trigger-condition-action logic that every future automation will build upon.
Step four: Add a wireless radio if needed. If you own Zigbee or Z-Wave devices, a small USB radio stick plugged directly into the mini PC extends your smart home solution to hundreds of additional low-power sensors, locks, and switches that do not rely on Wi-Fi at all.
Step five: Set up regular backups. Because your mini PC is now the brain of your entire house, schedule automatic backups to an external drive or network storage location. This single precaution can save you hours of rebuilding work if hardware ever fails.
Keeping Your Smart Home Solution Secure
A home automation hub that controls door locks, cameras, and garage doors deserves the same security discipline as online banking. A few essential habits go a long way:
- Use a long, unique administrator password rather than anything reused from another account
- Enable two-factor authentication if you plan to access your system while away from home
- Keep the platform and its add-ons updated on a regular schedule rather than ignoring update notifications for months
- Avoid exposing your hub directly to the open internet; instead, use an encrypted remote access method or a private network tunnel
- Review connected integrations periodically and remove any devices you no longer use
Security is not a one-time checkbox — it is an ongoing habit that protects the smart home solution you have invested time and money into building.
Troubleshooting Common First-Time Issues
Even a smooth installation occasionally hits a snag. Here are the most frequent early obstacles and their straightforward fixes.
The web interface will not load after boot. Give the system a few extra minutes on first boot, confirm the Ethernet cable is fully seated, and check your router’s connected-devices list to confirm the mini PC received an IP address.
A device is not detected during network scanning. Some devices require their own bridge or hub to be discovered, and some require you to place them in pairing mode manually before scanning again.
Automations do not trigger as expected. Double-check that the trigger condition, such as a specific time or sensor state, matches exactly what you configured, and confirm the device involved is currently reporting as online.
Performance feels sluggish after several months of use. This is almost always related to database growth. Adjusting how long historical data is retained typically restores snappy performance immediately.
Why This Investment Pays Off Long Term
Unlike subscription-based smart home platforms that can change pricing, discontinue features, or shut down entirely, a self-hosted setup on your own mini PC puts you in permanent control. There is no monthly fee for the platform itself, no company deciding your thermostat schedule is suddenly a premium feature, and no dependency on a remote server halfway across the country just to turn on your porch light. That independence is precisely why so many households describe their mini PC setup as the smart home solution they wish they had built years earlier.
Once your foundation is in place, expanding becomes almost addictive in the best way. Voice control, advanced energy monitoring, security camera integration, and elaborate multi-room lighting scenes are all a few clicks away, built on the same reliable hardware you set up today. The mini PC approach scales with your ambitions instead of holding you back, making it one of the most future-proof ways to bring true automation into an American household in 2026 and beyond.