
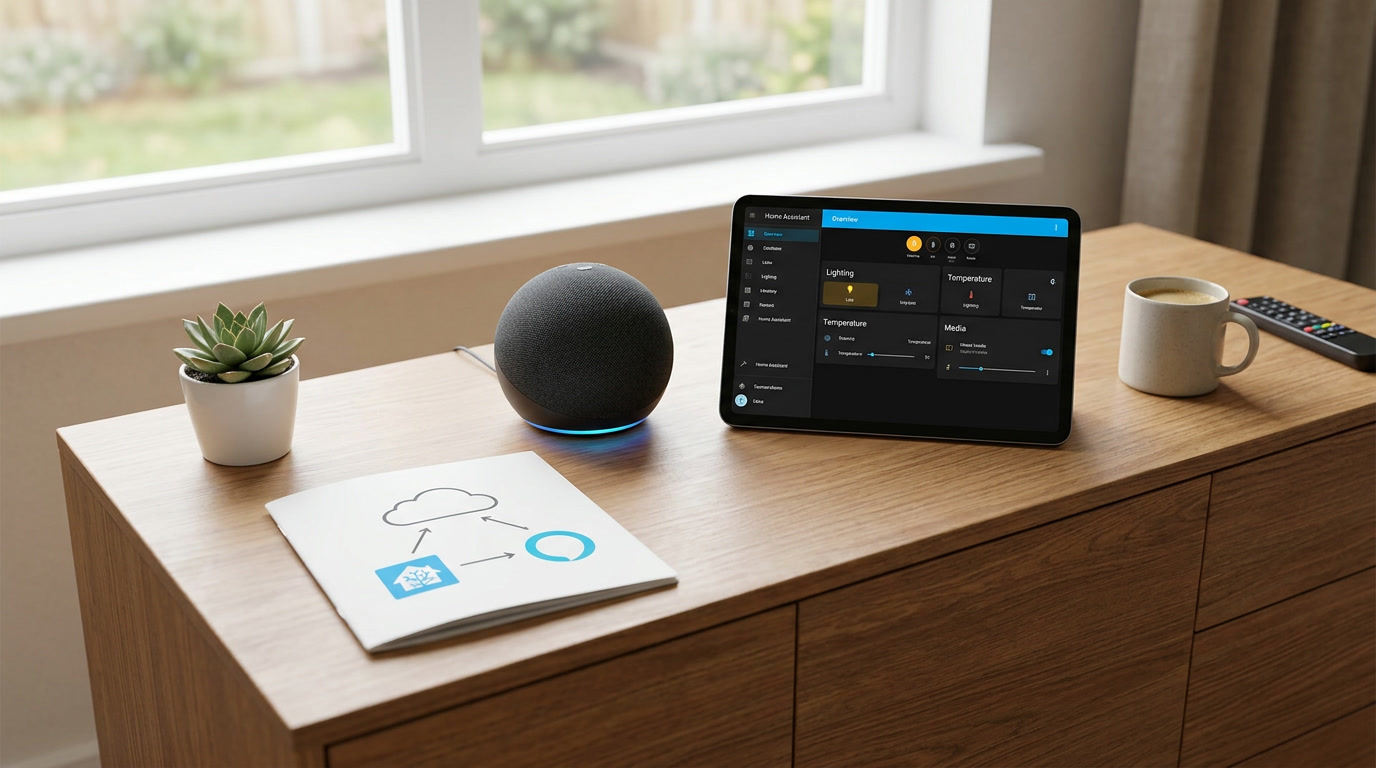
The first time I connected Home Assistant to Alexa, I expected it to be finicky. Voice control integrations have a reputation for being one of those things that mostly works, except for one random device that stubbornly refuses to respond correctly no matter what you try. To my genuine surprise, the actual setup process was refreshingly straightforward, but getting it to feel truly seamless in daily use took a bit more thought than the initial connection alone.
This guide walks through exactly how to connect Home Assistant with Alexa, along with the practical adjustments that make the difference between “technically working” and “genuinely convenient,” based on real household use rather than a rushed first impression right after setup.
Why Bother Connecting Alexa at All
If you already have a capable Home Assistant dashboard, you might reasonably wonder why voice control through Alexa adds meaningful value. In my experience, the honest answer is convenience in specific, recurring moments rather than a wholesale replacement for your dashboard. Walking into a dark room with your hands full of groceries, lying in bed and not wanting to reach for your phone, or simply preferring a quick spoken command over unlocking a screen are all situations where voice control genuinely outperforms even the best-designed dashboard.
For a household with multiple people, some more comfortable with technology than others, Alexa integration also lowers the barrier to entry significantly. Not everyone wants to learn a dashboard’s layout, but almost everyone can say “turn off the living room lights” without any learning curve at all.
Two Ways to Connect: Cloud-Based Versus Local
Before diving into setup steps, it is worth understanding that there are generally two approaches to connecting Home Assistant with Alexa, each with different practical tradeoffs for your smart home solution.
The first approach uses a cloud-based connection, often through a paid subscription service designed specifically to bridge Home Assistant with major voice assistant platforms securely, without requiring you to manually configure network security settings yourself. This tends to be the simpler, more beginner-friendly path, since much of the technical complexity is handled on your behalf.
The second approach involves a more manual, self-hosted method, exposing specific Home Assistant entities directly to Amazon’s systems through your own network configuration. This offers more granular control and avoids any subscription cost, but requires considerably more technical comfort with network security concepts, and mistakes here carry genuine security implications since you are directly managing external access to your home network.
For most households, especially anyone newer to Home Assistant, I genuinely recommend starting with the simpler, cloud-based approach. The modest subscription cost, when applicable, buys real peace of mind around security configuration that is easy to get subtly wrong when managing it entirely yourself.
Getting Started With the Connection
Once you have decided which approach fits your comfort level, the actual linking process happens partly within Home Assistant and partly within the Alexa app on your phone. Within Home Assistant, you will typically need to select which specific entities you want exposed to Alexa, rather than automatically exposing every single device in your home.
This selective exposure is worth taking seriously rather than rushing through. Every entity you expose becomes something Alexa can potentially control, and thoughtfully choosing which lights, switches, and climate controls actually make sense for voice control avoids a cluttered, confusing experience later.
Within the Alexa app itself, you will search for and enable the corresponding skill or connection that links to your Home Assistant setup, then follow the prompts to authenticate and complete the connection. Once linked, running a device discovery scan through the Alexa app pulls in all your exposed entities, making them available for voice commands.
Naming Devices for Natural Voice Commands
Here is a lesson I learned only after several frustrating attempts at giving commands that Alexa simply did not understand: device names matter enormously for voice control, far more than they do for a visual dashboard. A device named with a technical, hyphenated identifier works perfectly fine when you are tapping it on a screen, but becomes genuinely awkward, sometimes impossible, to say naturally out loud.
Before exposing entities to Alexa, take the time to rename them with simple, natural language you would actually use in conversation. “Living Room Lamp” works far better than “LR-Lamp-02.” This small step, often overlooked in a rush to get voice control working, makes an enormous difference in how natural the entire experience feels day to day.
Grouping Devices for Simpler Commands
Rather than controlling every individual light separately, grouping related devices together allows for much more natural, efficient voice commands. Instead of naming three separate living room lights individually and having to address each one, creating a group allows a single command like “turn off the living room” to control all three simultaneously.
This grouping can typically be configured either within Home Assistant itself, using area or group entities, or directly within the Alexa app afterward. I generally recommend setting this up on the Home Assistant side first, since it keeps your automation logic and your voice control experience consistent with each other, rather than managing two separate, potentially conflicting configurations.
Handling Devices That Should Never Be Voice-Controlled
Not every device belongs in Alexa’s control, and this is worth thinking through deliberately rather than exposing everything by default. Door locks are the most obvious example — most households specifically do not want a voice command alone to unlock a door, since anyone within earshot, including a stranger near an open window, could potentially issue that command.
Many integrations allow locking via voice while restricting unlocking to require an additional PIN code spoken aloud, which strikes a reasonable balance between convenience and security. Reviewing exactly which security-sensitive devices you expose, and configuring appropriate safeguards for genuinely sensitive actions like unlocking doors or disarming security systems, is a step worth taking seriously rather than skipping in the excitement of getting voice control working quickly.
Building Alexa-Triggered Routines
Beyond simple direct device commands, Alexa’s routine feature allows you to trigger more complex Home Assistant automations through a single spoken phrase. Saying “good night” could simultaneously lock doors, turn off lights throughout the house, and adjust your thermostat, all through one automation triggered by that single voice command rather than requiring several separate individual commands.
Building a small handful of these broader routines around genuinely common daily moments — leaving the house, arriving home, going to bed — tends to deliver far more day-to-day satisfaction than exposing dozens of individual devices for one-off control. This is where a smart home solution genuinely starts feeling effortless rather than simply “technically voice controllable.”
Common Frustrations and How to Fix Them
A few recurring issues show up frequently enough to be worth addressing directly.
Alexa doesn’t recognize a device name correctly. This almost always traces back to an awkward or overly technical entity name. Renaming the entity with simpler, more natural language and re-running device discovery typically resolves this immediately.
Commands work inconsistently for grouped devices. Double-check that your grouping configuration is set up on only one side, either Home Assistant or the Alexa app, rather than conflicting group definitions existing in both places simultaneously.
A newly added device doesn’t show up in Alexa. Remember that new entities are not automatically exposed by default in most configurations. Confirm the new device has been explicitly added to your exposed entity list, then re-run discovery through the Alexa app.
Voice commands feel slower than expected. Some lag is inherent to any cloud-based voice processing, but if delays feel unusually long, check whether your specific connection method relies on unnecessary round trips through external servers that a more direct configuration might avoid.
Keeping the Integration Healthy Over Time
Voice control is not entirely a one-time setup you configure and forget forever. As you add new devices to your smart home solution, remember to periodically review which entities are exposed to Alexa, rather than assuming everything stays automatically synchronized. New sensors and switches added to Home Assistant do not appear in Alexa until you deliberately expose them and re-run discovery, and it is easy to forget this step in the excitement of adding a new device.
Similarly, if you rename or reorganize devices within Home Assistant, particularly if you change how entities are grouped by area, it is worth double-checking that Alexa’s understanding of your home still matches reality afterward. A quick voice test across your most commonly used commands every so often catches these small drifts before they become a recurring daily annoyance.
I have found it helpful to treat this as a light seasonal check-in, similar to changing batteries in a smoke detector, rather than something requiring constant ongoing attention. A few minutes every couple of months keeps the whole system feeling consistently reliable rather than gradually drifting out of sync with your actual devices.
In Conclusion
Connecting Home Assistant to Alexa is genuinely one of the more approachable integrations available, but the difference between a setup that technically works and one that feels truly effortless comes down to thoughtful naming, deliberate entity exposure, and a handful of well-built routines around real daily moments. Take the extra time upfront to rename devices naturally, group them sensibly, and carefully consider which security-sensitive devices deserve extra safeguards, and voice control will become one of the most genuinely convenient parts of your entire smart home solution rather than a novelty that gets used once and then forgotten.