
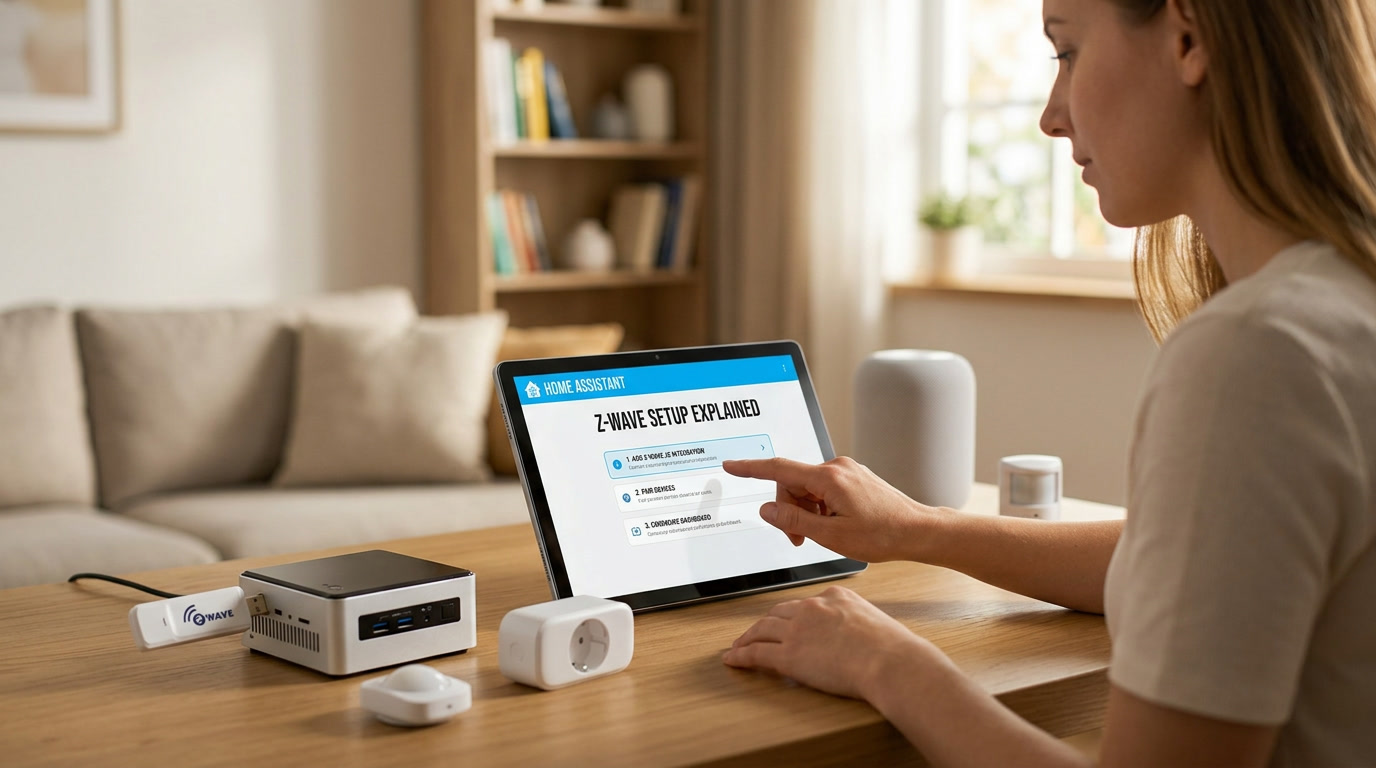
When I first started researching Z-Wave, I nearly gave up before I even bought a single device. Every article seemed to assume I already understood terms like “S2 security,” “inclusion mode,” and “network heal,” and I remember genuinely wondering if this was going to require an engineering background I simply did not have. It turns out none of it is actually that complicated once someone explains it in plain language, and that is exactly what I wish someone had done for me from the start.
This guide walks through everything you actually need to know to set up Z-Wave in Home Assistant, explained the way I wish it had been explained to me, so you can add reliable, secure devices to your smart home solution without getting lost in unnecessary technical vocabulary along the way.
What Z-Wave Actually Is, in Plain Terms
Z-Wave is a wireless communication standard, similar in purpose to Zigbee, designed specifically for smart home devices like locks, sensors, and switches. Devices communicate on a dedicated radio frequency separate from your Wi-Fi network, and like Zigbee, they form a mesh network where powered devices help relay signals for devices further from your central hub.
The key practical difference most people care about is that Z-Wave tends to have a reputation for particularly strong security standards, especially with its more recent security protocol, and it uses a licensed, standardized frequency range that varies by region, which generally results in fewer interference issues compared to the more crowded frequency space that Zigbee and Wi-Fi both share.
For a smart home solution where security-sensitive devices like door locks are involved, many people specifically choose Z-Wave for exactly this reason.
The Z-Wave Controller: Your Starting Point
Just like Zigbee requires a coordinator, Z-Wave requires a controller, typically a small USB stick plugged into your Home Assistant server. This controller acts as the central hub coordinating every Z-Wave device in your home.
When choosing a controller, pay attention to which generation of the Z-Wave standard it supports. Newer controllers support the more advanced security protocol and generally offer better range and reliability than older hardware. If you are starting fresh today, there is little reason to intentionally choose older, less capable hardware, even if it appears slightly cheaper upfront.
Getting the Z-Wave Integration Running
Once your controller is physically connected, setting up the integration within Home Assistant is a fairly guided process. The system typically detects the connected controller automatically, and you will be walked through basic confirmation steps to get the underlying Z-Wave network running.
One detail worth understanding upfront: Home Assistant’s Z-Wave integration relies on a separate software component running alongside the main platform to actually manage the low-level radio communication. This sounds more complicated than it actually is in practice, since the setup wizard handles this connection automatically for the vast majority of users, but understanding that this separate piece exists helps make sense of certain settings and logs you might encounter later.
Understanding “Inclusion Mode” Without the Jargon
Inclusion mode is simply Z-Wave’s official term for pairing mode. When you want to add a new device to your network, you put your controller into inclusion mode through Home Assistant, then trigger the corresponding action on the device itself, usually a specific button press pattern described in that device’s manual.
The reason this term trips people up is that documentation often uses it without ever translating it into more familiar language. Once you understand that inclusion mode and pairing mode mean exactly the same thing, most Z-Wave setup documentation suddenly becomes far less intimidating.
Walking Through Your First Device Pairing
Start with a device physically close to your controller, even if it is not the device’s intended permanent location. This removes distance as a variable while you are still confirming that your controller itself is working correctly, and you can relocate the device afterward without any issue.
Put your controller into inclusion mode through the integration’s settings, then follow your specific device’s instructions to trigger pairing, which commonly involves a particular button press or sequence. Within moments, assuming everything is working correctly, the device should appear in Home Assistant, ready for you to rename and assign to the appropriate room.
If you are pairing a security-sensitive device like a smart lock, pay particular attention to any prompts regarding the newer security protocol during this process, since successfully establishing this more secure connection type is specifically why many people choose Z-Wave for locks in the first place.
Understanding Z-Wave’s Mesh Network
Similar to Zigbee, Z-Wave devices that are mains-powered, like in-wall switches or certain plugs, act as repeaters for the rest of your network, relaying signals for devices further from your controller. Battery-powered devices, like door and window sensors, rely on this mesh of powered devices to maintain a reliable connection throughout a larger home.
This means the same practical planning advice applies here as with any mesh-based protocol: adding a handful of strategically placed, always-powered devices early in your setup genuinely strengthens the reliability of battery-powered devices you add later, even in more distant rooms.
What “Network Heal” Actually Means
Another term that intimidated me early on was “network heal.” In plain language, this simply refers to the process of your Z-Wave network re-evaluating and optimizing the communication paths between devices, particularly useful after you have added several new devices or made changes to your home’s layout.
Running a network heal periodically, especially after significant changes to your device lineup, helps ensure your mesh network is using the most efficient communication routes available, rather than potentially relying on outdated paths established before newer, better-positioned repeater devices existed.
Z-Wave Versus Zigbee: A Practical Comparison
Since many people researching Z-Wave are also considering Zigbee, a brief honest comparison is worth including here. Z-Wave generally offers a reputation for stronger built-in security, which matters significantly for locks and other security-sensitive devices. It also uses a less crowded frequency range in most regions, which can mean fewer interference issues in a home already saturated with Wi-Fi and Zigbee traffic.
Zigbee, on the other hand, tends to have a larger overall device selection and is sometimes slightly more affordable across comparable device categories. Many experienced users, myself included, end up running both protocols simultaneously within the same smart home solution, using Z-Wave specifically for security-focused devices like locks and Zigbee for the broader range of sensors and lighting.
There is nothing wrong with mixing both, since Home Assistant handles multiple protocols simultaneously without conflict, and choosing the right protocol for each specific device category often produces a more reliable overall system than forcing everything into a single standard.
Common Beginner Mistakes With Z-Wave Setup
A few recurring patterns tend to cause unnecessary frustration for people setting up Z-Wave for the first time.
Attempting to pair a device too far from the controller initially. As mentioned earlier, always start close and relocate afterward, rather than trying to pair a device in its permanent, potentially distant location from the very beginning.
Forgetting to check for the security protocol prompt on sensitive devices. Particularly with locks, missing this step during initial pairing can result in a functional but less secure connection than intended, which somewhat defeats the purpose of choosing Z-Wave for that device category in the first place.
Neglecting to add powered repeater devices early. Just like with Zigbee, relying entirely on battery-powered devices without strategically placed powered ones nearby leads to a weaker, less reliable mesh than necessary.
Ignoring controller placement. While Z-Wave generally experiences less interference than Zigbee, physical obstructions like metal enclosures can still meaningfully impact your controller’s effective range, so thoughtful placement still matters.
Expanding Your Z-Wave Network Over Time
Once your first handful of devices are paired and working reliably, expanding further follows the same basic pattern, but a few extra considerations become relevant as your network grows larger.
Keep a simple record of which devices you have paired and roughly where they are located, especially once your household grows past ten or fifteen Z-Wave devices. This might sound unnecessary early on, but it becomes genuinely useful months later when troubleshooting a specific area of weak connectivity, since you can quickly reference which powered devices should theoretically be providing mesh coverage in that part of your home.
Consider your home’s layout holistically rather than adding devices purely in the order you happen to purchase them. If you know a distant back bedroom will eventually need reliable coverage, planning to add a powered device somewhere between that room and your controller earlier in the process saves you from troubleshooting connectivity issues later, after several battery-powered sensors are already struggling in that same area.
Security Considerations Worth Understanding
Since security is one of Z-Wave’s genuine strengths, it is worth spending a moment on what this actually means in practice rather than treating it as a vague marketing point. The newer security protocol used by modern Z-Wave devices encrypts communication between your controller and each device, which matters significantly for anything controlling physical access to your home, like a door lock.
When pairing a lock or other security-sensitive device, confirm within Home Assistant’s logs or the pairing confirmation screen that the more secure protocol was actually used, rather than an older, less secure fallback. Most modern devices and controllers default to the stronger option automatically, but it is a detail worth a quick double-check rather than simply assuming, particularly for a device protecting your home’s physical entry points.
Final Thoughts
Z-Wave sounds far more intimidating in documentation than it actually is in practice. Strip away the unfamiliar terminology, and the core process is genuinely similar to any other wireless smart home protocol: connect a controller, put it into pairing mode, follow your device’s specific instructions, and build a mesh network gradually with a mix of powered and battery devices. For security-sensitive additions to a growing smart home solution, particularly locks, Z-Wave’s reputation for strong security standards makes the small amount of extra learning genuinely worthwhile.