
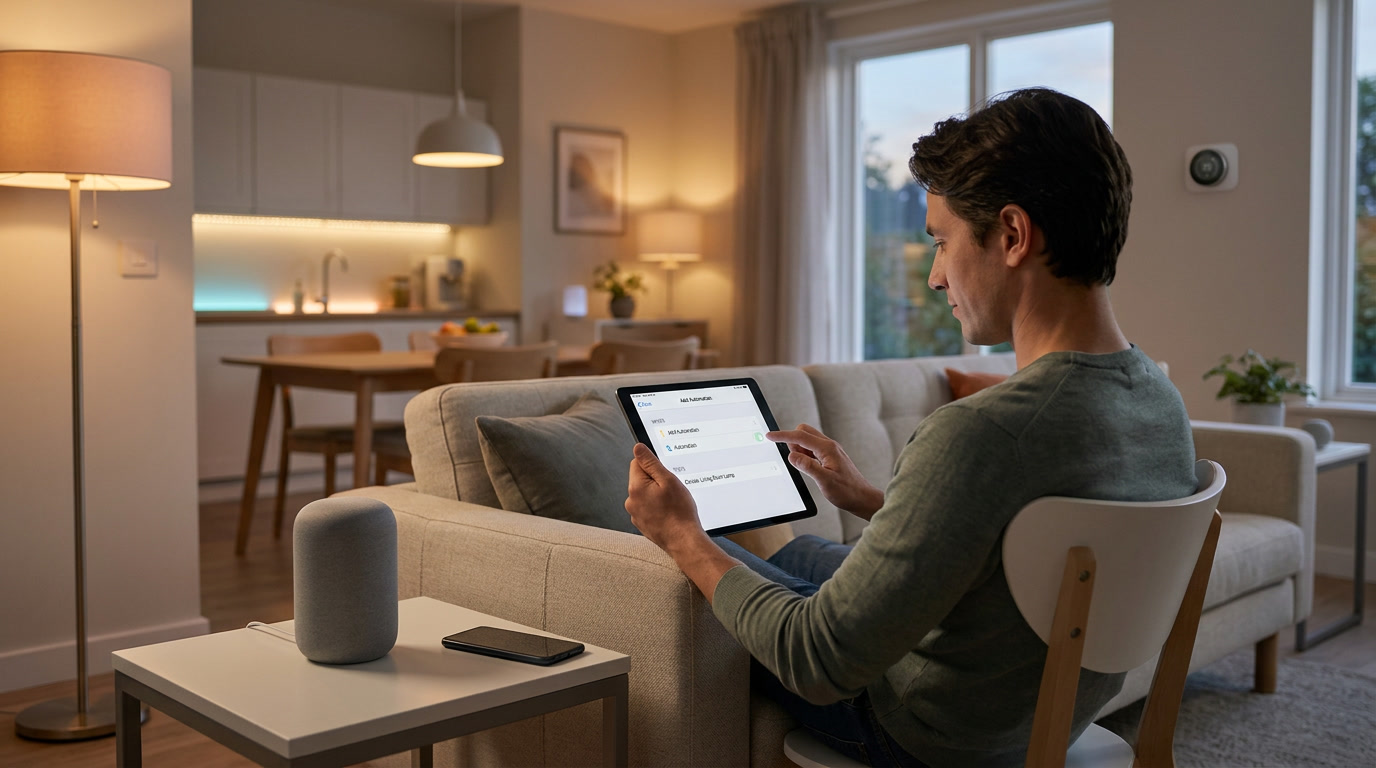
There’s a difference between owning smart bulbs and actually having smart lighting. Plenty of people buy a handful of color-changing bulbs, control them from an app for a week, and then quietly go back to flipping the switch by hand because the “smart” part never really clicked. The missing piece almost always comes down to automation — not just controlling lights remotely, but building routines that respond intelligently to what’s actually happening in the house.
This guide walks through how to build smart lighting automations in Home Assistant that feel natural rather than gimmicky, using real logic instead of rigid timers. Done right, lighting automation becomes one of the most noticeable, satisfying parts of any smart home solution — the kind of thing you don’t think about until you visit a house without it and instantly miss it.
Why Basic Timers Aren’t Enough
Most people’s first attempt at lighting automation looks something like “turn on the porch light at 7 PM every day.” It works, technically, but it ignores reality. Sunset shifts by nearly two hours across the year in most of the U.S., which means a fixed-time automation is either too early in summer or too late in winter for months at a stretch.
A genuinely useful smart home solution accounts for these variables instead of pretending every day is identical. Home Assistant’s built-in sun integration solves this specific problem by tracking actual sunrise and sunset times for your exact location, allowing automations to trigger relative to the sun rather than a fixed clock.
Step 1: Start With Triggers That Reflect Real Life
Before writing a single automation, it’s worth mapping out what should actually cause a light to turn on or off. Good lighting automation typically responds to some combination of:
- Time relative to sunset or sunrise, rather than a fixed clock time
- Motion detection, especially in hallways, bathrooms, and entryways
- Door or window sensors, useful for porch and entry lighting
- Presence and occupancy, distinguishing between someone walking through briefly and someone settling into a room
- Manual overrides, since no automation should completely remove a person’s ability to control their own lights
Thinking through these triggers before opening the automation editor saves a lot of trial and error later.
Step 2: Build a Sunset-Based Porch Light Automation
This is one of the most universally useful automations and a great starting point. Instead of a fixed time, the trigger is set to “sunset,” optionally with an offset of fifteen or thirty minutes to account for personal preference around dusk. The action simply turns on the porch or entry light.
For the “off” side of this automation, a fixed late-night time (say, midnight) or a sunrise-based trigger works well, depending on whether you want the light on all night or just through the evening hours. This single automation alone often becomes the most appreciated addition to a household’s smart home solution, since it quietly solves the “coming home in the dark” problem without any daily thought required.
Step 3: Add Motion-Based Automation for Hallways and Entryways
Motion-triggered lighting is where automation starts to feel genuinely intelligent rather than just scheduled. The core logic looks like this:
- Trigger: motion detected by a hallway or entryway sensor
- Condition: only run if it’s currently dark outside (using the sun’s elevation, not just a clock time)
- Action: turn the light on
- Second automation: turn the light off after motion has been clear for a set number of minutes, such as two or three
That “condition” step matters more than people expect. Without it, lights might trigger during broad daylight, which feels pointless and can actually be more annoying than helpful. Tying the condition to sun elevation rather than a fixed time keeps the automation accurate throughout the year without needing seasonal adjustments.
Step 4: Layer in Presence Detection for Living Spaces
Motion sensors alone struggle in rooms where people sit still for long stretches — a living room during a movie, a home office during focused work. This is where combining motion sensors with presence or occupancy sensors (including mmWave sensors, which detect subtle movement like breathing) makes a real difference.
A well-built living room automation might look like this:
- Motion or presence detected → lights turn on to a comfortable brightness
- No motion or presence detected for fifteen minutes → lights dim to 20 percent as a warning
- No motion or presence detected for two more minutes → lights turn off completely
That two-stage “dim before off” approach avoids the frustrating experience of lights snapping off while someone is simply sitting still, which is one of the most common complaints people have with basic motion automations.
Step 5: Build Scene-Based Automations for Specific Moments
Beyond reactive automations, scenes let you group multiple lights into a single, intentional setting triggered by a specific event. Some genuinely useful examples include:
- “Movie Time” — dims living room lights to a low warm tone while turning off overhead lighting entirely
- “Good Morning” — gradually brightens bedroom lights over several minutes instead of an abrupt full-brightness jolt
- “Away Mode” — randomizes light activity in the evening to simulate occupancy while the house is empty
- “Good Night” — turns off all lights except a dim hallway light, useful for late-night trips to the kitchen or bathroom
Scenes can be triggered manually through a voice assistant, a smart button, or automatically as part of a larger routine, giving your smart home solution a level of polish that goes well beyond simple on/off switching.
Step 6: Use Conditions to Prevent Annoying Edge Cases
The difference between a lighting automation people love and one they eventually disable often comes down to edge cases. A few conditions worth building in from the start:
- Don’t trigger motion lighting if it’s already bright outside. Use sun elevation rather than a fixed time, since daylight hours shift throughout the year.
- Don’t override manual control immediately. If someone manually turns off a light, consider adding a short cooldown period before motion automation can turn it back on, avoiding the frustrating loop of a light turning back on seconds after being manually switched off.
- Account for guests or unusual schedules. A guest mode toggle that temporarily disables aggressive automations can prevent confusion when someone unfamiliar with the system is staying over.
- Avoid stacking conflicting automations. If two automations both control the same light based on different triggers, test them together to make sure they don’t fight each other, flickering on and off unpredictably.
These small refinements are often what separates a smart home solution that feels thoughtful from one that feels like it’s constantly getting in the way.
Step 7: Fine-Tune Brightness and Color Temperature
Lighting automation isn’t just about on and off — brightness and color temperature play a huge role in how “smart” a home actually feels. A few practical adjustments worth making:
- Warmer color temperatures in the evening, gradually shifting toward cooler, brighter tones during the day, mimicking natural daylight patterns
- Lower brightness levels for nighttime bathroom trips, avoiding the jarring effect of a fully bright light at 3 AM
- Brighter, cooler lighting for kitchen and workspace automations, supporting focus and visibility during active tasks
Home Assistant makes this straightforward through light templates and scripts that adjust both brightness and color temperature based on time of day, turning a basic on/off automation into something that genuinely adapts to how people actually live.
Common Mistakes to Avoid
Relying entirely on fixed times. As covered earlier, fixed-time automations age poorly across seasons. Sun-based triggers solve this problem almost entirely.
Ignoring manual override behavior. If every automation aggressively overrides manual light control, people quickly get frustrated and start disabling automations altogether.
Overcomplicating the first few automations. It’s tempting to build an elaborate, multi-condition automation right away. Starting simple, testing thoroughly, and layering in complexity gradually leads to far more reliable results.
Forgetting about pets. Motion sensors placed too low can trigger constantly from pets walking through a room. Adjusting sensor height or sensitivity prevents this common annoyance.
Not testing across different times of day. An automation that works perfectly at 8 PM might behave unexpectedly at 6 AM. Testing across a full day-night cycle catches issues before they become daily annoyances.
Bringing It All Together
A genuinely well-designed lighting automation setup doesn’t rely on a single clever trick — it layers several thoughtful pieces together. Sunset-based porch lighting handles the basics. Motion-based hallway automation adds convenience. Presence detection solves the “why did my lights turn off while I was sitting right here” problem. Scenes add intentional atmosphere for specific moments. And careful conditions prevent the small annoyances that make people abandon automation altogether.
None of these pieces are especially complicated on their own, but combined, they transform a house full of individually controllable bulbs into something that genuinely earns the label “smart.” That layered, thoughtful approach is really what separates a collection of gadgets from an actual smart home solution.
Final Thoughts
Smart lighting automation isn’t about flashy demos or color-changing party tricks — it’s about lights that behave the way you’d naturally expect, without requiring constant manual input. Start with a simple sunset-based automation, layer in motion and presence detection where it makes sense, and build scenes for the moments that matter most in your daily routine.
Done thoughtfully, lighting automation becomes one of the most quietly impressive parts of a home, the kind of detail guests notice without quite being able to explain why. For anyone building out a long-term smart home solution, it’s one of the highest-value places to invest a little extra time getting right.