
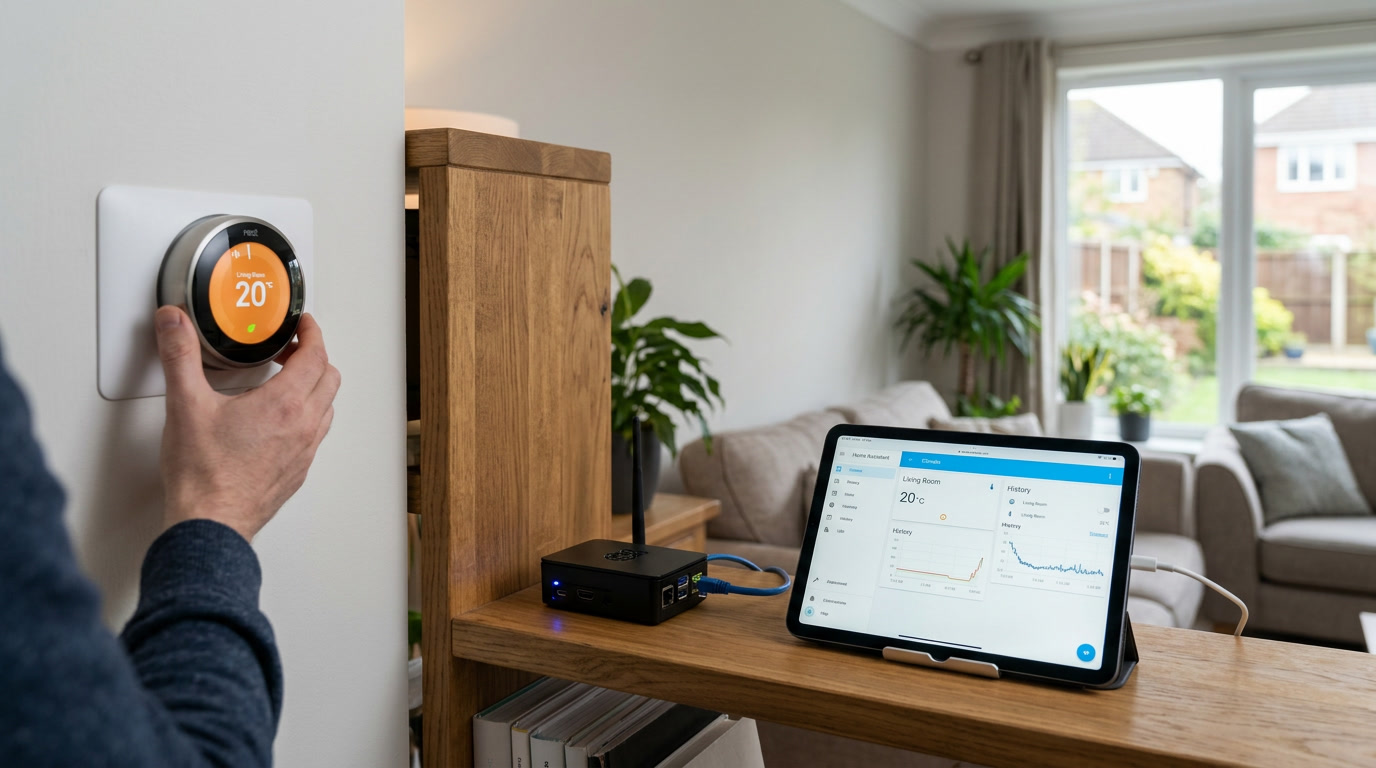
Utility bills have a way of getting people’s attention faster than almost any other home automation argument. Lighting is nice, security is reassuring, but heating and cooling? That’s real money, month after month. A properly configured smart thermostat, integrated thoughtfully into Home Assistant, is often the single most financially impactful piece of a smart home solution — and yet it’s also one of the most commonly half-finished setups out there.
Plenty of people buy a smart thermostat, connect it to its own app, glance at a schedule once, and never touch it again. That’s not really a smart home solution — it’s just a slightly nicer thermostat. This guide walks through how to actually integrate a smart thermostat into Home Assistant properly, build automations that respond to real conditions, and avoid the mistakes that quietly waste both comfort and money.
Why Home Assistant Integration Matters More Than the Thermostat Itself
Most smart thermostats work reasonably well on their own. Ecobee, Nest, and Honeywell’s smart lineup all offer scheduling, geofencing, and basic learning algorithms straight out of the box. So why bother routing everything through Home Assistant?
The honest answer is context. A standalone thermostat only knows what its own sensors tell it — usually just temperature near the unit itself, and maybe occupancy through a phone’s location. Once connected to Home Assistant, that same thermostat gains access to everything else happening in the house: door sensors, window sensors, motion data, weather forecasts, humidity readings from other rooms, and even electricity pricing data if your utility provides it.
That broader context is what turns a decent standalone thermostat into a genuinely intelligent piece of a smart home solution — one that reacts to an open window immediately instead of stubbornly heating an empty room with a draft blowing through it.
Step 1: Choose a Thermostat With Solid Home Assistant Support
Not all thermostats integrate equally well. Before setup, it’s worth confirming the specific model has a reliable, actively maintained Home Assistant integration rather than a clunky third-party workaround. Popular options with strong support include:
- Ecobee thermostats, known for excellent sensor accuracy and a mature official integration
- Nest thermostats, widely supported though occasionally affected by Google’s API changes
- Honeywell Home (Resideo) thermostats, solid mid-range options with dependable local integration
- Zigbee or Z-Wave-based thermostats, which often integrate more directly and locally, avoiding cloud dependency entirely
For anyone prioritizing privacy and reliability, Zigbee or Z-Wave thermostats tend to be the most consistent choice, since they communicate directly with Home Assistant rather than routing commands through a manufacturer’s cloud servers.
Step 2: Complete the Native Integration
Once you’ve chosen a thermostat, the integration process in Home Assistant is usually straightforward. Through the Settings menu, adding the appropriate integration (Ecobee, Nest, Honeywell, or a generic Zigbee/Z-Wave climate entity) typically involves logging into the manufacturer’s account or pairing the device directly, depending on the protocol.
After integration, the thermostat appears in Home Assistant as a climate entity, exposing controls for target temperature, mode (heat, cool, auto, off), and fan settings. This single step already unlocks far more flexibility than the manufacturer’s own app usually provides, since Home Assistant’s automation engine can now read and control every one of those parameters based on virtually any condition in the house.
Step 3: Add Supplementary Temperature and Humidity Sensors
One of the biggest limitations of any single thermostat is that it only measures conditions in one location, usually a hallway or central room. That single reading rarely reflects the actual temperature in a bedroom down the hall or a sunroom that heats up dramatically in the afternoon.
Adding a few inexpensive Zigbee or ESPHome-based temperature sensors around the house solves this problem directly. Home Assistant can then use an average, a specific room’s reading, or even the most extreme reading among several rooms to drive thermostat decisions, rather than relying on a single, potentially misleading data point.
This is where a smart home solution built around Home Assistant genuinely outperforms a standalone thermostat — the ability to make decisions based on how the whole house actually feels, not just one spot near the thermostat itself.
Step 4: Build Occupancy-Aware Climate Automation
Heating or cooling an empty house is one of the most common sources of wasted energy. With motion sensors, presence detection, or simple door and window sensors already feeding into Home Assistant, occupancy-aware automation becomes straightforward:
- If the house has been empty for more than thirty minutes, adjust the target temperature a few degrees toward energy-saving territory
- If someone returns home, particularly detected through a door sensor combined with phone presence, gradually bring the temperature back to a comfortable setting
- If a door or window is left open for more than a couple of minutes while heating or cooling is active, pause the system temporarily rather than fighting against outside air
That last automation alone can meaningfully reduce wasted energy, especially in households with kids or pets prone to leaving doors open longer than intended.
Step 5: Factor In Local Weather Data
Home Assistant’s weather integrations allow thermostat automations to anticipate conditions rather than just react to them. A few practical examples:
- Pre-cooling before a predicted heatwave, taking advantage of cheaper early-morning temperatures before outdoor heat peaks
- Delaying heating adjustments during a mild, sunny afternoon, letting natural sunlight handle some of the work through south-facing windows
- Adjusting humidity control during particularly humid stretches, especially relevant for homes in the Southeast and Gulf Coast regions
This kind of forward-looking automation is difficult to replicate with a standalone thermostat app, but becomes very achievable once weather data and climate control live in the same automation platform.
Step 6: Build a Sleep-Friendly Nighttime Routine
Comfortable sleep temperature differs from daytime comfort for most people, and a well-built nighttime automation accounts for that shift automatically. A typical setup might:
- Lower the target temperature slightly around a set bedtime, or triggered by a “Good Night” scene
- Gradually raise the temperature again shortly before a typical wake time, avoiding a cold house first thing in the morning
- Adjust fan speed or mode based on humidity readings from a bedroom sensor, if available
Because this runs automatically once configured, it removes the need to manually adjust a thermostat late at night — one of those small conveniences that quietly reinforces why the whole system is worth setting up properly in the first place.
Step 7: Track Energy Usage and Refine Over Time
A smart thermostat’s real value shows up over weeks and months, not just on day one. Home Assistant’s history and statistics features make it possible to review actual temperature patterns, system runtime, and (if you have compatible energy monitoring) real electricity cost data tied to heating and cooling cycles.
Reviewing this data periodically — say, once a month — often reveals opportunities that weren’t obvious during initial setup. Maybe the “away” temperature threshold is too conservative. Maybe one room consistently runs colder than expected, suggesting an insulation issue worth addressing separately. This ongoing refinement is what separates a genuinely optimized smart home solution from a “set it and forget it” installation that slowly drifts away from ideal.
Common Mistakes to Avoid
Relying entirely on the manufacturer’s app. Even after integrating with Home Assistant, some users still primarily use the original app out of habit, missing out on the deeper automation possibilities Home Assistant enables.
Ignoring sensor placement. A temperature sensor placed directly in sunlight or near a heating vent will report inaccurate readings, throwing off automation logic. Placement matters just as much as the sensor itself.
Being too aggressive with energy-saving setbacks. Dropping the temperature too dramatically during “away” periods can mean the system works harder than necessary to recover comfortable temperatures, sometimes offsetting the intended savings.
Not accounting for humidity. Temperature alone doesn’t tell the whole comfort story, especially in humid climates. Where possible, incorporating humidity data into automation decisions produces a more genuinely comfortable result than temperature control alone.
Forgetting seasonal adjustments. An automation tuned perfectly for summer cooling may behave oddly once winter heating season begins. Revisiting thermostat automations at the start of each season prevents outdated logic from lingering unnoticed.
Bringing It All Together
A well-integrated smart thermostat setup in Home Assistant does far more than a standalone device ever could on its own. Supplementary sensors fill in the gaps a single thermostat misses. Occupancy-aware automation prevents wasted energy in empty rooms. Weather-aware logic anticipates conditions instead of just reacting. And a dedicated nighttime routine handles the daily comfort adjustments that used to require manual effort.
None of these pieces need to be built all at once. Starting with basic integration and occupancy-based setbacks already delivers meaningful value, with weather awareness and nighttime routines layered in naturally as time allows.
To Sum Up
Heating and cooling represent one of the largest ongoing costs in any American household, which makes thoughtful thermostat automation one of the highest-return investments within a broader smart home solution. Home Assistant’s ability to combine sensor data, weather forecasts, and occupancy patterns into a single coherent system produces results that a standalone thermostat app simply can’t match.
Take the time to set it up properly, review the data occasionally, and refine as needed. The reward isn’t just a lower utility bill — it’s a house that consistently feels comfortable without requiring anyone to think about it.